
CONDUCTIVE PAINT APPLICATION TUTORIAL
1- Dismantle all the electronic elements of the electronic part of the guitar, this way it will be easier to apply the paint. If your guitar has a pickguard, you can apply the paint only by unscrewing the pickguard and being careful not to stain the wires, as for example in a telecaster or stratocaster. Although we recommend disassembling everything to make it easier.
2 – Clean the surface of any dirt that may cause the paint not to hold, such as dust, grease, etc.
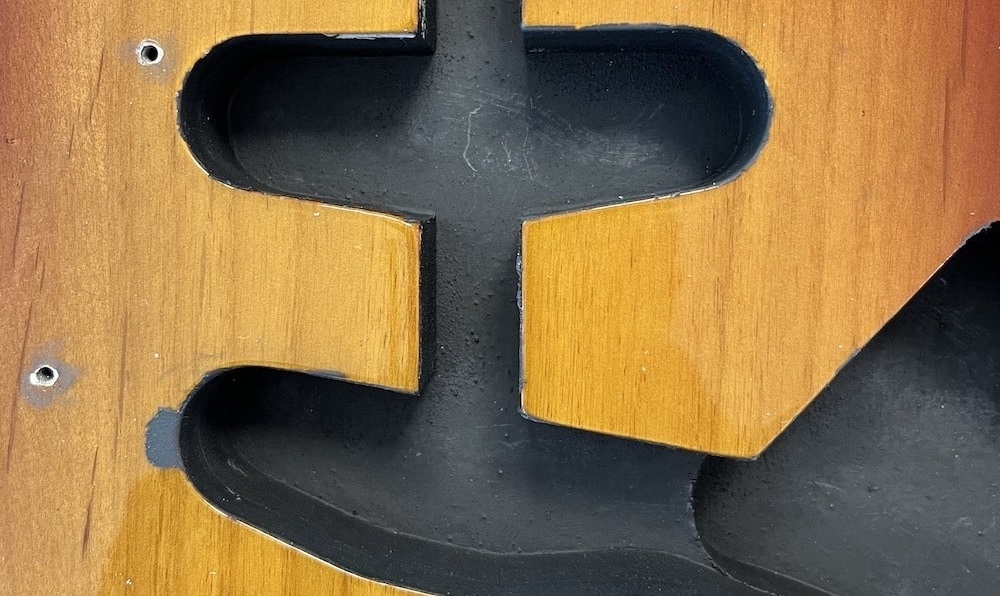
3 – Apply the conductive nitorlack paint with a small brush, with fine strokes and taking care to leave the surface perfectly covered. Allow 2 to 3 hours for the paint to dry.
4- Apply a second coat of paint to ensure good conductivity and that the whole area is perfectly painted.
5- We have to paint the area of the electronics cavity and the lid or pickguard of the guitar so that when it is closed it makes good contact between the parts and has good conductivity.
6- Connect a cable with a screw to any area of the cavity painted with conductive paint, this cable must be connected to ground for correct operation. The ground can be any area of the potentiometers or directly to the ground of the output jack.
7- Re-install all the electronics and close the electronics cavity of the guitar. If everything has been done well, there will be a very important improvement in the interference and external noises on our guitar.
2 – Clean the surface of any dirt that may cause the paint not to hold, such as dust, grease, etc.
3 – Apply the conductive nitorlack paint with a small brush, with fine strokes and taking care to leave the surface perfectly covered. Allow 2 to 3 hours for the paint to dry.
4- Apply a second coat of paint to ensure good conductivity and that the whole area is perfectly painted.
5- We have to paint the area of the electronics cavity and the lid or pickguard of the guitar so that when it is closed it makes good contact between the parts and has good conductivity.
6- Connect a cable with a screw to any area of the cavity painted with conductive paint, this cable must be connected to ground for correct operation. The ground can be any area of the potentiometers or directly to the ground of the output jack.
7- Re-install all the electronics and close the electronics cavity of the guitar. If everything has been done well, there will be a very important improvement in the interference and external noises on our guitar.